Web page change monitoring with Webshare proxies
Integrating proxies with Changedetection takes website monitoring to a professional level by addressing challenges like regional restrictions, IP bans, and task scalability. Here’s how Webshare proxies enhance Changedetection:
- Access Geo-Restricted Websites: Webshare proxies allow you to bypass regional restrictions by routing your requests through servers in specific locations. For example, if a website is accessible only to users in the US, using a proxy with a US IP address enables Changedetection to monitor that site seamlessly. This feature is invaluable for tracking region-specific content like local promotions, regional news updates, or country-specific pricing changes.
- Avoid IP Restrictions: Monitoring websites often involves sending frequent or repetitive requests, which may lead to your IP address being flagged or blocked. Webshare proxies mitigate this risk by rotating IP addresses, simulating requests from different users. This approach reduces the likelihood of detection and ensures uninterrupted monitoring, even on sites with strict anti-scraping measures.
- Scale Monitoring Across Multiple Sites: Tracking multiple web pages simultaneously can overload a single IP address, triggering rate limits or temporary blocks. Webshare proxies distribute these requests across multiple IPs, allowing you to monitor a higher number of pages without disruptions.
- Enhanced Privacy and Security: Webshare proxies mask your actual IP address, providing an added layer of anonymity and safeguarding your monitoring activities. This protection is crucial when tracking sensitive content, such as competitor websites or exclusive data, where you don’t want your actions to be easily traceable.
- Improved Speed and Reliability: High-quality Webshare proxies often provide faster and more stable connections than your regular network. This reduces delays in fetching updates and ensures that Changedetection performs consistently, even under heavy monitoring workloads or network fluctuations.
- Ensure Legal and Ethical Compliance: Webshare proxies enable monitoring activities to comply with regional laws and website policies. By ensuring access through approved regional proxies or adhering to site-specific terms of use, you can conduct ethical monitoring without violating restrictions.
Proxy setup method for beginners
When integrating Changedetection with Webshare proxies, we'll cover a general beginner-friendly proxy setup first, followed by an advanced setup using rotating proxies.
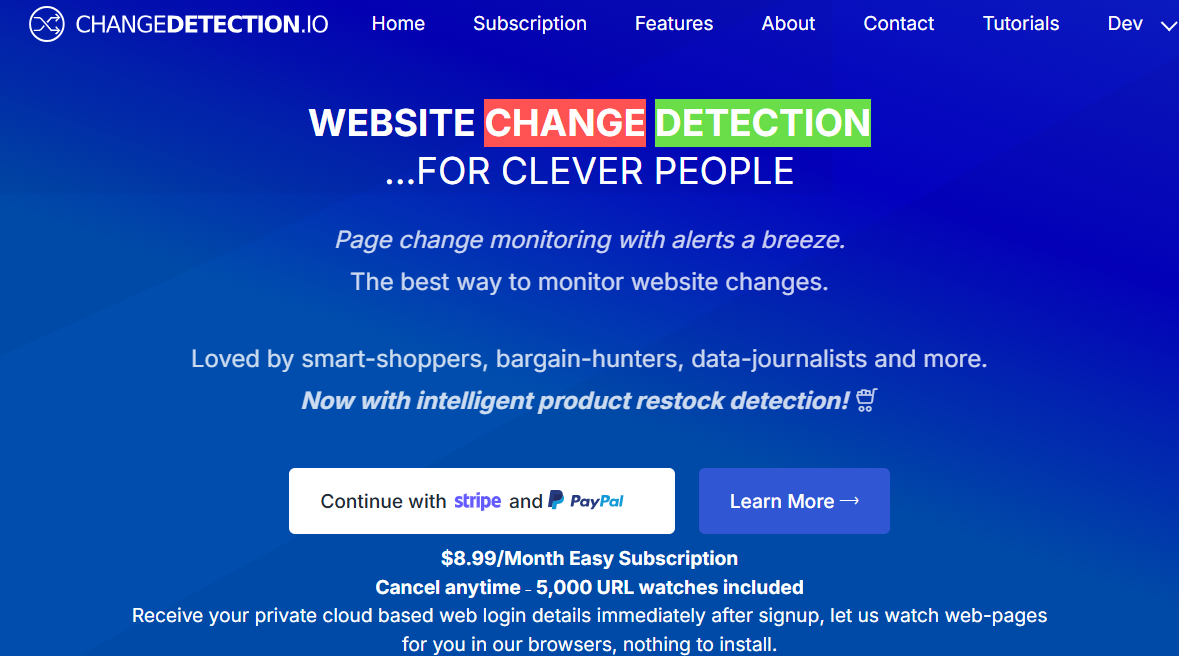
1. Subscribe to Changedetection.io
Begin by subscribing to Changedetection.io. Once you’ve successfully created an account, you’ll receive your credentials via email. Use these credentials to login and launch the web application in your browser.
2. Access the SETTINGS menu
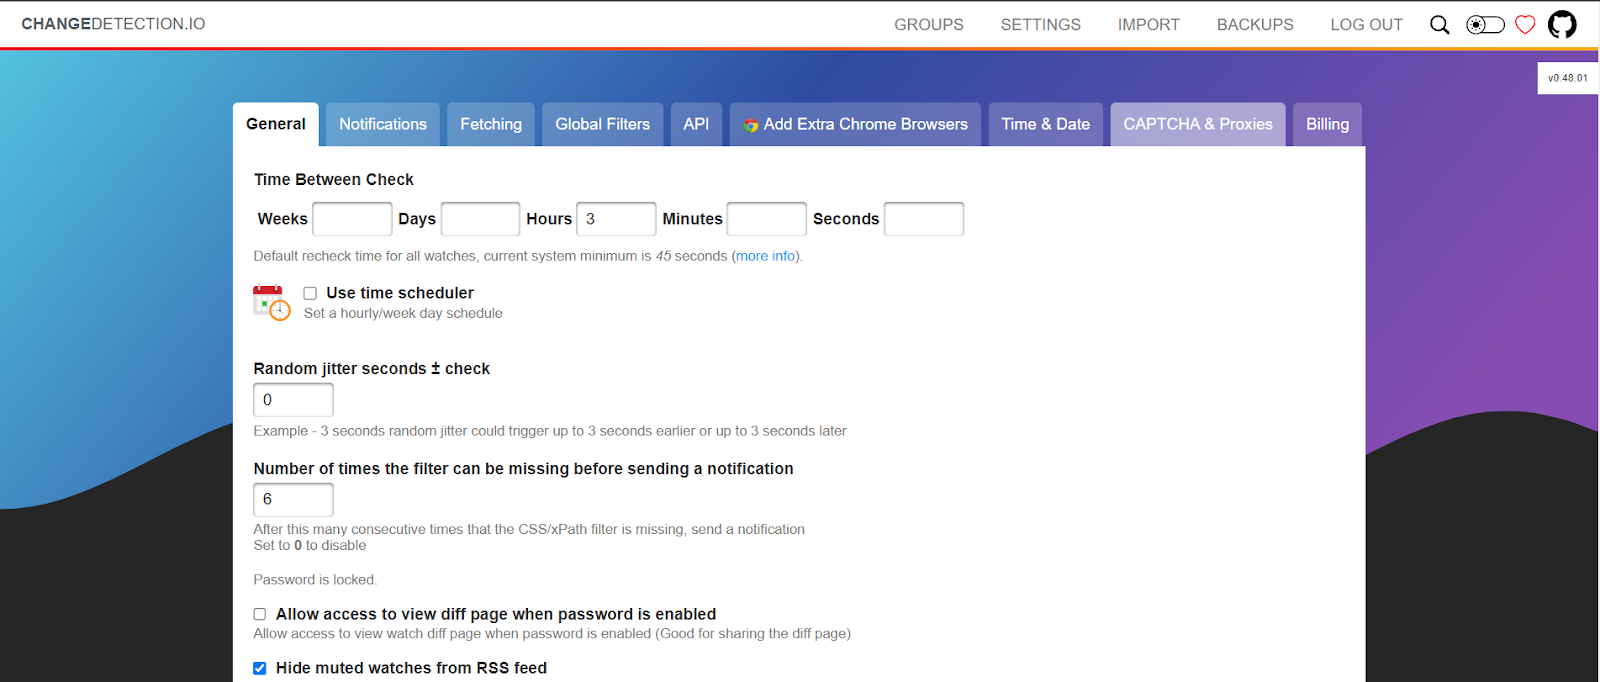
After logging in, navigate to the top menu bar and click on SETTINGS to access the configuration options.

3. Select the CAPTCHA & Proxies tab
Within the settings menu, locate and click on the CAPTCHA & Proxies tab. This section allows you to add and manage proxy configurations for your monitoring tasks.
4. Webshare proxy credentials
For Webshare proxies, sign up for the free plan to access 10 free datacenter proxies. These proxies are shared, limited to 1GB of bandwidth per month, and include options for both rotating and static configurations. You’ll find the necessary proxy details (username, password, host, and port) in your Webshare account dashboard.
Next, we will cover instructions for two different types of proxies - residential and datacenter. Pick one whichever you have subscribed for. The free proxy server plan is using datacenter proxies.
5. Configure residential proxies
To configure residential proxies, enter the proxy URL in the recommended format:
http://username:password@host:port
For example:
http://username:password@p.webshare.io:80
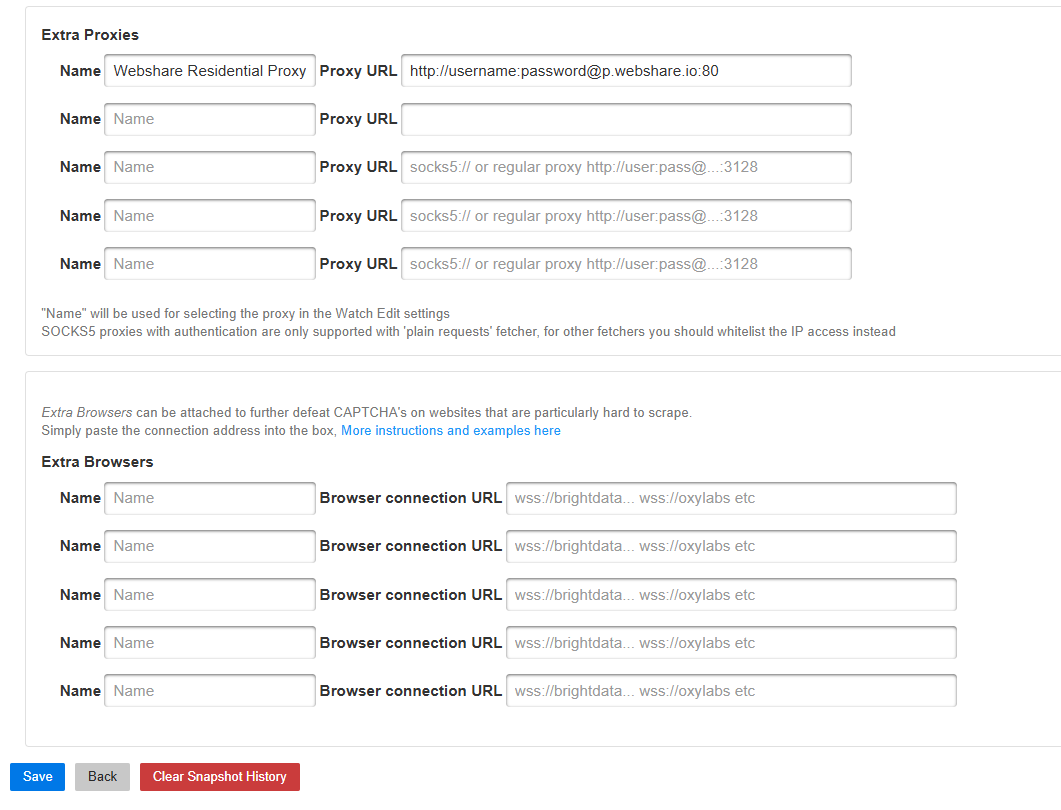
Replace username, password, host, and port with the details provided by Webshare. Once added, click Save to confirm the settings.
6. Configure datacenter proxies
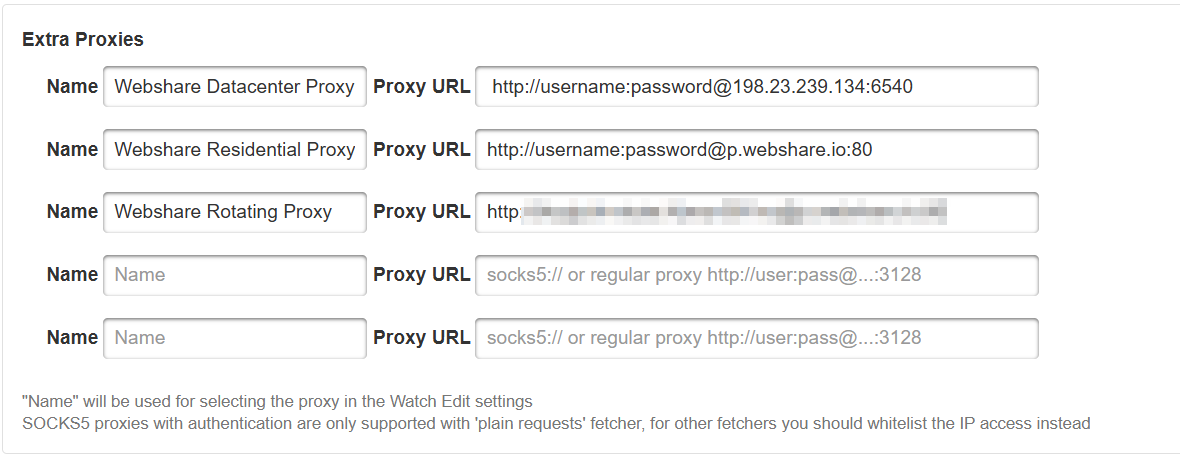
To configure datacenter proxies, use the same URL format as above. As an example, here’s how you can configure a Webshare datacenter proxy:
http://username:password@198.23.239.134:6540

Replace the placeholders with your datacenter proxy credentials.
Advanced proxy setup - rotating proxies
Here’s how to set up Webshare rotating proxies in Changedetection:
Access Webshare Dashboard: Log in to your Webshare account and navigate to the Proxy List section.
Select Connection and Authentication Method: Under Connection Method, select Rotating Proxy Endpoint. This option ensures a new proxy IP is assigned with each request. For authentication, choose Username/Password.

Copy Proxy Details: Use the provided details from your Webshare dashboard:
Domain Name, Proxy Port, Proxy Username, and Proxy Password.

Add the Proxy URL to Changedetection: Create the proxy url in the same format as discussed above, enter it under the Proxy URL field and click Save.
Enable Proxies in General Settings
- Go back to the General Settings section.
- Scroll down to the Proxy Configuration area.
- Choose your newly added proxies to be used for change detection tasks.
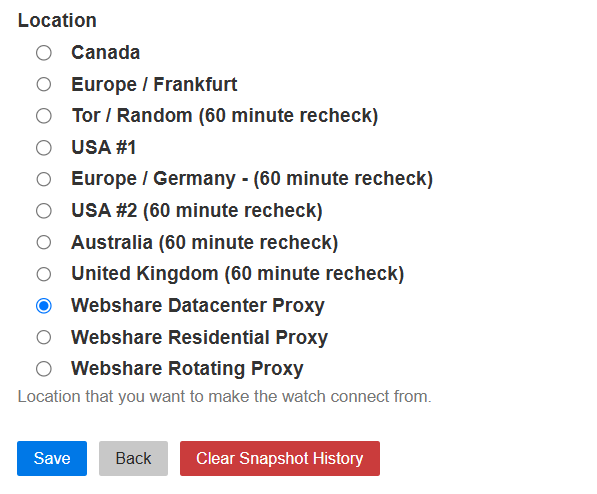
You are now ready to monitor website content changes seamlessly, without geo-restrictions.
Wrapping up
From here you can also test that a web page watch is working correctly with your new proxy configuration (using our proxy scanner).
Integrating Webshare proxies with Changedetection allows you to overcome regional restrictions, avoid IP bans, and scale monitoring tasks seamlessly. By combining Webshare's reliable proxy services with Changedetection's powerful change-tracking features, you can ensure accurate, uninterrupted and efficient website monitoring.
